

Make it a tradition
The Pumpkin Naming Ceremony
First weekend of October each year
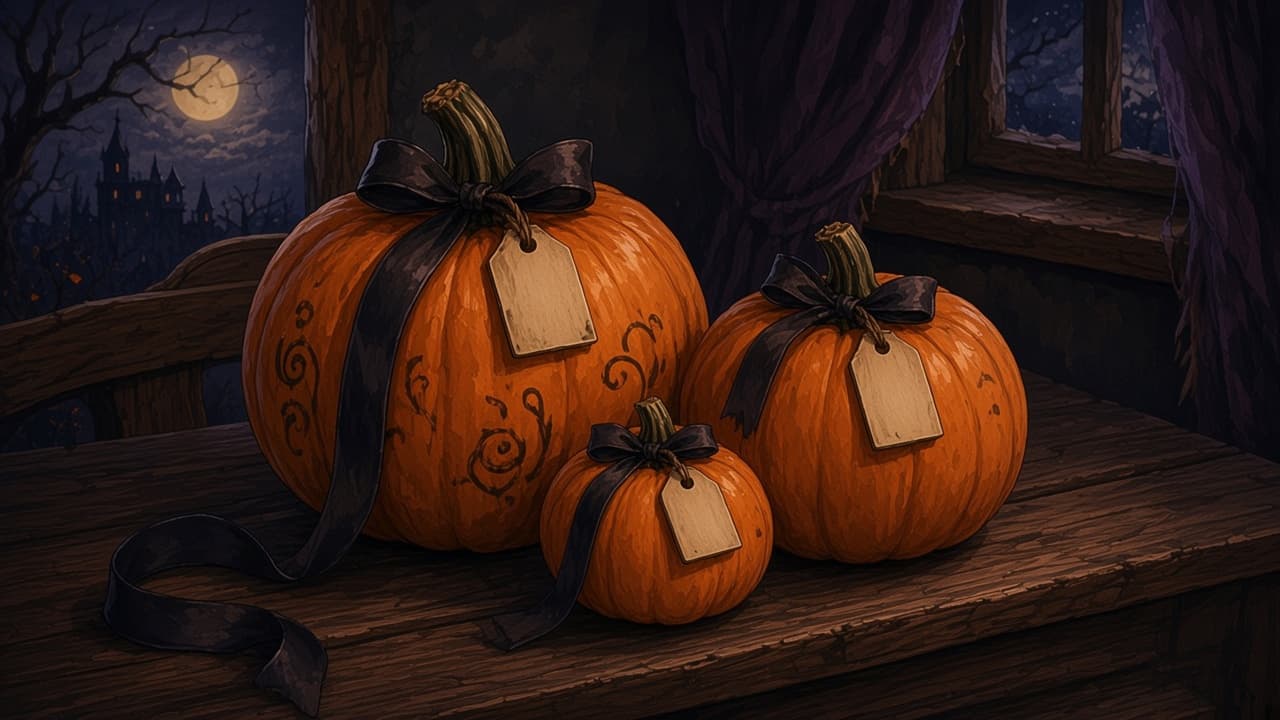
Everyone chooses a pumpkin, gives it a name and invents a backstory. The pumpkins become family members for the season and stay on display until Halloween.
What you need
- One pumpkin per person, any size
- A step, tray, or shelf where they can sit until Halloween
- Paint, stickers, or markers for younger children
- Carving tools kept for adults only
- A battery candle if you want a glow
- A card kept indoors for the names and stories
How to do it
- On the first weekend of October, choose the pumpkins together. Each person picks their own, including the adults.
- Before anyone cuts anything, name the pumpkin and tell a short backstory. Write the names on a card kept indoors.
- Younger children paint or sticker their pumpkin. An adult does any carving, and only if you want a carved one.
- Put the pumpkins where the household will see them: the step, the table, or a shelf.
- They stay until Halloween. If one softens early, compost it and let the others finish the season.
One household's version
A family of three names theirs Pip, Captain Cob, and Aunt Marrow. Pip is painted and “guards the biscuit tin.” A parent carves Captain Cob only after the children have drawn his hat on paper. The pumpkins sit on the step and get a wave when the lights go out.
Safety note: Adults should do any carving. Younger children can paint or decorate their pumpkin instead.